

VJ Sharma Lead SEQ, ADOBE, New Delhi
Visit author’s site
Few days ago once again one photographer pinged me on Facebook and asked about the way people click Flowers with black background. Followed with the statement, he was curious to know if it was some kind of Camera Technique or Photoshop Work. Since he understands Photography well, if put it in right way. Otherwise most of the times, people think that all such magical things can only be done in Photoshop…. Today we shall take a deep dive into the process of creating such photographs which show colorful flowers with Black Background.
So there is no simple answer to this question. At times, it is very easy to shoot your subject in a way that you best utilize the light and background of the flower. At times, we need to adjust our position in such a way that you get appropriate background for this kind of shot.
If we go by basic principles of Photographs, what kind of lighting condition can be helpful in getting these types of photograph. Of course, something when your flower gets most of the light and background get least possible light as compared to the flower. This is possible when there is harsh sunlight, your flower is facing sun while leaves behind the flower are not getting light and in fact under the shadows of the main flowers. This is one of the ideal situations to shoot such photographs. Now, when I say this to people next question comes – what should be settings? Of course, this is nothing different from shooting other things. So settings can be applied in your own way by deciding depth of field you want. So the photograph shown below is a single shot with a Camera and has no Photoshop work. Even the sharpness of leaves is not retouched.
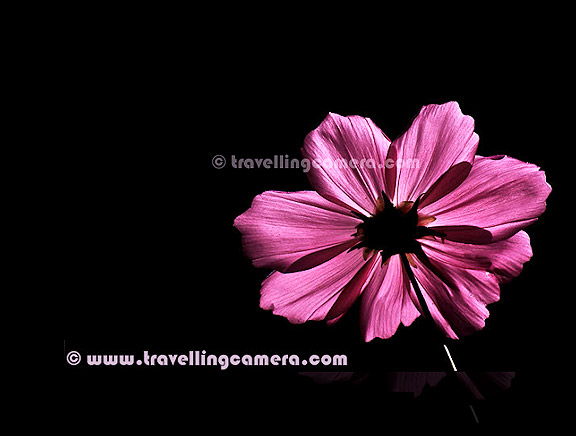
The above Photograph was shot around noon when the back of this flower was well lit against a brick wall which was under the shade. The light difference between the bright pink flower and dark brown wall was so high that on underexposing the photograph, I got this result. At the same time, this photograph was shot in Manual mode by keeping the Metering mode as Spot-Metering. Tripod was used to click this shot and I am sure you can see the difference. So the above photograph shows an example where appropriate lighting and right way of clicking photograph was enough to get this kind of results.
Below is a classic example of Photoshopped results out of a very normal shot of flowers…
So the above photograph was achieved from the photograph shows below, which is a below average photograph. So here Photoshop Power was used to get something interesting out of a very casual photograph. Although the above photograph is over-processed. ‘How this can be done in Photoshop’ can be covered in a separate article.
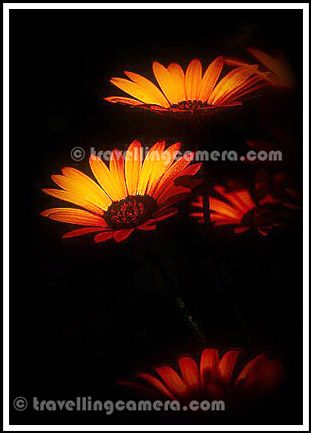
An example which shares thoughtful photograph which was clicked with an idea of further processing in Adobe Photoshop Lightroom.

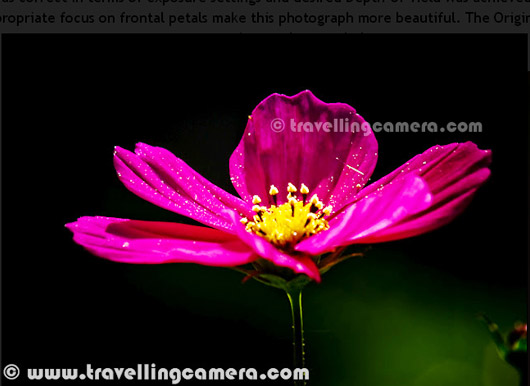
This one is one my favorites, which is processed in Adobe Photoshop Lightroom. But of course, photograph clicked was correct in terms of exposure settings and desired Depth-of-field was achieved. The trail effect with appropriate focus on frontal petals makes this photograph more beautiful. The Original Shot used for processing can be seen below –

The above Photograph was clicked in such a way that post-processing could give a black background in final results. It was quite easy and basic. In the above photograph I was sure that I have to get darker shades in the background. I moved a bit towards right so that the dark red toned pot comes in the background. Why I did so? It becomes quite easy to process such photographs in Adobe Camera Raw dialog or Lightroom. There is a control called Blacks, which starts reducing threshold of dark pixels in a photograph. Which means that darker shades of photograph will start converting into Blacks as we move the slider towards right. If we don’t take care of such small things, such results can be achieved in Photoshop but needs lot of efforts. The above photograph was processed in five minutes, while in a bad shot may take more than one hour to get the desirable results.
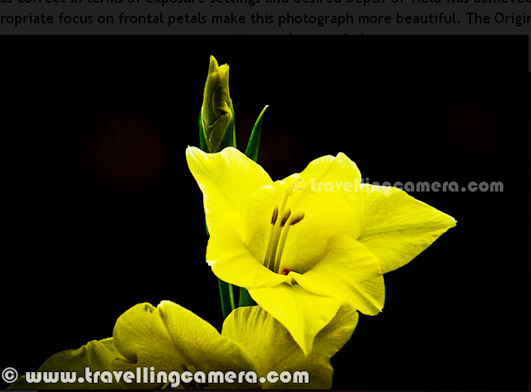
Achieving partial black background using Adobe Photoshop Lightroom!
This is a casual shot with basic processing in Lightroom. Here vignette is applied to the photograph after cropping. Quite simple, but the same effect may not look good or natural in other photographs. All processing in Lightroom and Photoshop depends a lot on colours you have in your original photograph and overall distribution of tones across the frame.
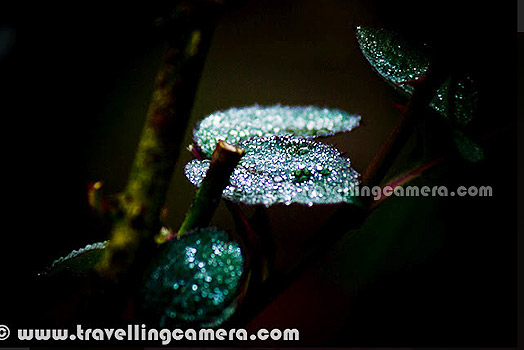
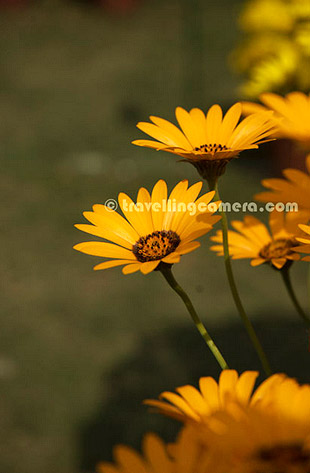
Flower shot with partial black background, but hardly processed in Photoshop to get this background.
The above photograph is hardly processed and such results are quite easy to achieve, by positioning yourself in such a way that background gets least light as compared to Flower.
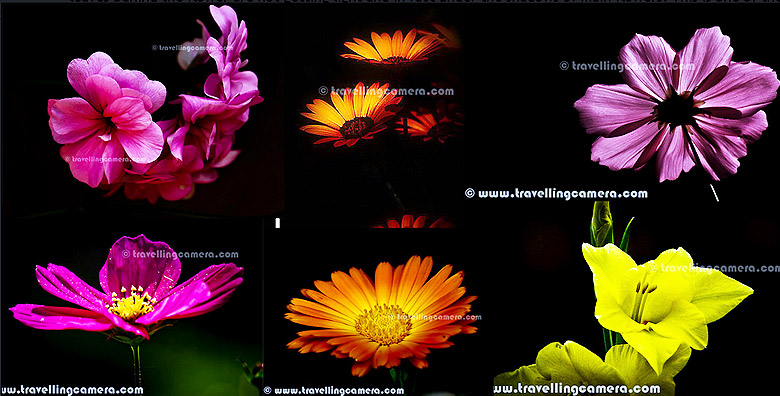
Some average photographs of flowers with black background. Here Photographs had partial black background when they were clicked and later processed in Adobe Photoshop Lightroom.
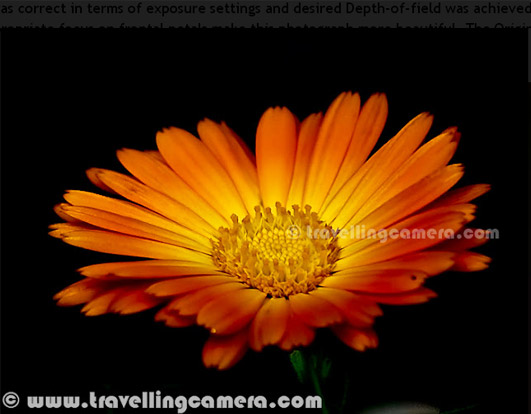
Adobe Photoshop Lightroom 4.0 can be extremely useful in getting better results for such effect, but at the same time Photograph should be clicked correctly.